

Gymnastics, cheerleading, and professional training each demand something different from a landing surface. A young tumbler needs forgiving cushioning at home. A cheer squad needs a long, stable runway for stunts and passes. A professional athlete needs consistent, gym-grade rebound under repeated high-impact use. The right inflatable air track mat for one of these roles will not automatically suit the other two.
So how do you choose? Lengths, thicknesses, and builds vary widely, and the differences matter. You need a mat that matches your skill level and fits the floor space you actually have. This guide breaks down the key specifications one by one, from dimensions to a dropstitch inflatable mat's internal construction, and closes with clear buying guidance. ONESUN mats appear throughout as a reliable reference point.
Key Takeaways
- Choose a mat that fits your activity: home gymnastics, cheerleading, or professional training.
- Measure your space and pick a length that gives you a safe runway.
- Select thickness based on your skill level and impact: 10 cm for home, 20 cm for gyms.
- Check for dropstitch construction and reinforced seams for durability.
- Set up on a flat surface and keep the area clear to prevent accidents.
Choose the Right Inflatable Air Track Mat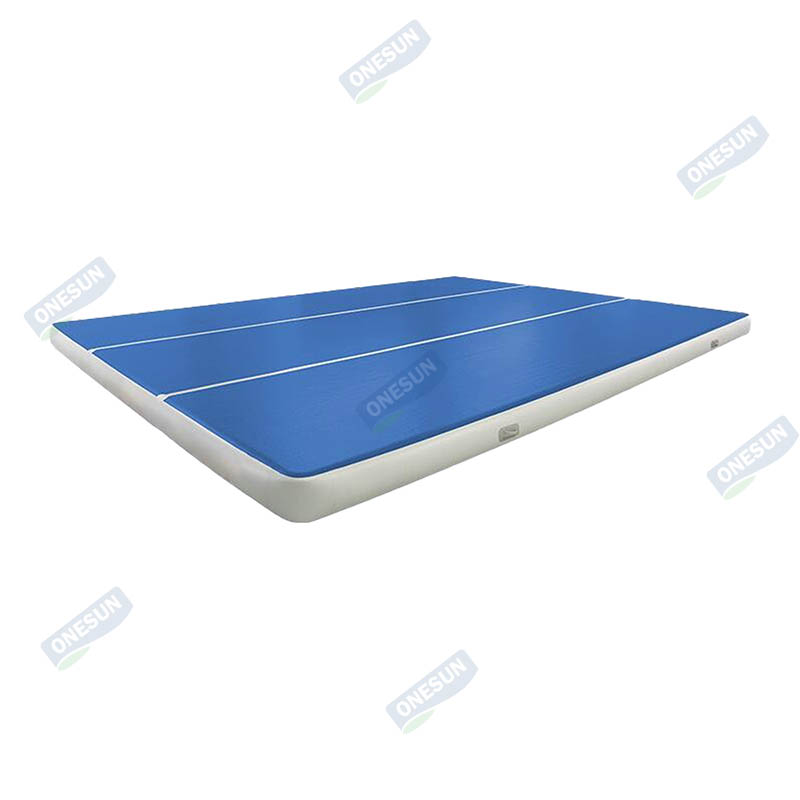
Your discipline sets the first filter. A gymnastics family, a cheer squad, and a professional training facility each need a different balance of length, cushion, and durability. The table below shows where each type of setup fits best.
|
Setup |
Best fit |
Why it works |
|---|---|---|
|
Shorter, thinner track |
Home use |
Fits a spare room or backyard and suits younger children |
|
Mid-length track |
Clubs and schools |
Gives tumblers room to build a run without dominating the floor |
|
Long, thick track |
Commercial gyms |
Handles repeated high-impact landings and long passes |
An inflatable exercise mat also beats a traditional foam mat in three practical ways. You control the bounce by adjusting air pressure, so one mat serves beginners and advanced athletes. You deflate it and fold it into a bag for storage. You can use it for tumbling, cheer stunts, and general conditioning instead of buying separate mats for each activity.
Gymnastics and Tumbling
Gymnasts need a surface that rewards repetition. A dropstitch inflatable mat holds its shape under load because thousands of internal threads connect the top and bottom layers. That construction gives you a stable, predictable landing zone for rolls, handsprings, and tumbling passes. For home practice, choose a shorter mat that matches the clear floor space you have. For a club or school, choose a longer mat so athletes can link skills without running out of runway. ONESUN builds mats for both settings, and their range gives you a trusted starting point for either budget.
Cheer and Pro Training
Cheerleaders and professional athletes push harder and land heavier. A gymnastics air mat tumble track inflatable in a longer length gives a squad room for running tumbling passes and stunt landings. Professional training demands consistent rebound under repeated use, so prioritize a robust build and a firm inflation level. ONESUN mats serve cheer gyms and pro facilities with the same construction standards they apply to their gymnastics line. Match the mat length to your longest pass, and match the firmness to the impact load you expect.
Whatever your discipline, treat the Inflatable Air Track Mat as a long-term piece of equipment. Compare the top picks against your space, your athletes, and your budget before you commit. A well-chosen mat supports safer progress at every level.
Inflatable Air Track Mat Specifications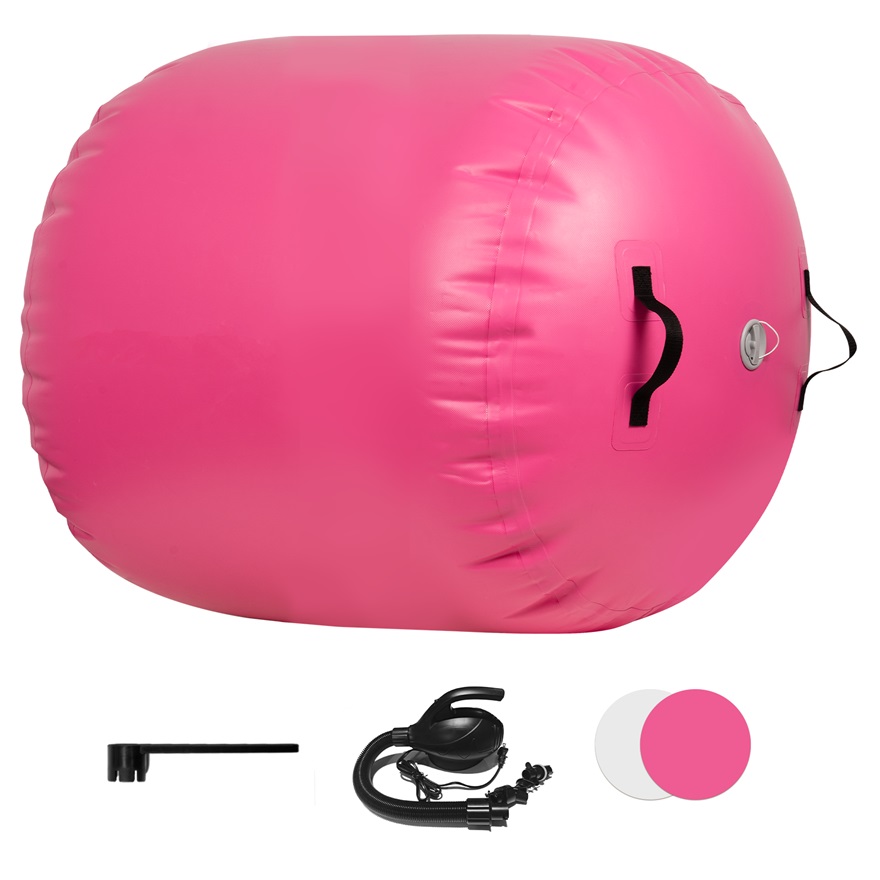
Length and width decide how much runway you get. Thickness decides how much cushion and rebound you feel. Get these three numbers right, and the rest of the buying decision becomes much simpler. The specifications below apply to any inflatable air track mat, so use them as a checklist when you compare models.
Length and Width
Start with the longest skill you plan to practice. A tumbling pass needs a runway long enough to build speed, complete the skill, and land safely. Measure your clear floor space first, then subtract a safety margin at both ends. A mat that fills the room wall to wall leaves no room for error. A mat that stops short of the wall gives you a buffer zone.
Width matters for lateral work. Cheer stunts and side skills need a wider surface. Single-file tumbling works fine on a narrower mat. A wider mat also gives two athletes room to practice side by side. For home use, a shorter and narrower mat fits a spare room or backyard. For clubs and schools, a mid-length mat gives athletes room to link skills without dominating the floor. For commercial gyms, a long mat handles full passes under repeated impact.
Think about storage before you buy. A longer mat needs more floor space when inflated and a longer shelf or bag when deflated. Measure both the training area and the storage spot. A mat that fits the gym but not the closet creates a daily hassle. Fold it loosely and keep it away from sharp edges.
Thickness Guide
Thickness sets the feel underfoot. Each step up adds cushion, weight, and cost. The table below compares the three common options.
|
Thickness |
Best for |
Notes |
|---|---|---|
|
10 cm (4 inch) |
Home, recreational use, younger children |
Softer landing, lighter to move |
|
15 cm |
Mid-range option |
Balances cushion and stability |
|
20 cm (8 inch) |
Commercial gyms |
Industry standard for high-impact training |
A 10 cm mat suits a young gymnast practicing rolls and handstands at home. The softer landing builds confidence, and the lighter weight makes it easy to move. A 15 cm mat gives a club a versatile middle ground. It cushions landings well and still feels stable underfoot. A 20 cm mat is the commercial gym industry standard, and it absorbs heavy landings from repeated high-impact training.
You can fine-tune thickness and firmness through inflation level. Inflate the mat fully for a firmer, bouncier surface. Release some air for a softer, more forgiving landing zone. This flexibility lets one mat serve beginners and advanced athletes. A pump with a pressure gauge helps you repeat the same setting. Check the firmness before each session, because air pressure shifts with temperature and use.
Thickness affects cost. A thicker mat uses more material and typically costs more. Match thickness to your actual training load rather than buying the thickest option by default. A home user rarely needs a 20 cm mat. A commercial gym should not cut corners on a thinner one. Ask how often the mat will see heavy landings. Weigh the price difference against the years of use you expect.
Construction and Setup
Durability and Materials
A mat's lifespan depends on its internal build. Look for dropstitch construction, where thousands of threads connect the top and bottom layers. This design holds the mat's shape under heavy landings and resists bulging at the edges. ONESUN builds its mats around this principle, and the brand pairs the dropstitch core with reinforced seams and a tough outer skin. Those details matter most at the seams, where stress concentrates during repeated tumbling.
Check the valve quality and the seam finish before you buy. A sturdy valve holds pressure through many inflation cycles. Reinforced seams resist peeling at the edges. Ask how the manufacturer tests each mat, and read owner reviews for signs of long-term wear. A well-built Inflatable Air Track Mat should serve a home user for years and survive daily club use.
Pumps and Storage
Your pump choice shapes how often you actually use the mat. A hand pump costs little and works fine for occasional home sessions. An electric pump saves time for clubs that inflate and deflate daily. Many mats ship with a pump included, so confirm what comes in the box. A pump with a pressure gauge helps you repeat the same firmness setting every session.
Inflation takes only a few minutes with a good pump, and deflation goes faster still. Open the valve, let the air escape, and fold the mat loosely along its length. Store it in the carry bag away from sharp edges, direct sun, and extreme heat. A deflated mat packs into a compact bundle that fits a closet shelf or car trunk. That portability sets an inflatable exercise mat apart from fixed foam equipment, and it makes setup and teardown a quick routine rather than a chore.
Safety and Space
Safe Training Zones
A safe landing zone starts with clear space around the mat. Leave a buffer at both ends of the runway, so an athlete who overshoots a pass still lands on a forgiving surface. Keep the sides clear as well. A tumbler who drifts sideways needs room to step off without hitting furniture, a wall, or gym equipment.
Check the ceiling and overhead space too. Raised arms, extended skills, and rebound all add height. A low ceiling turns a routine skill into a hazard. Look at the floor surface under the mat as well. A clean, flat, dry floor keeps the mat stable. Carpet, grit, or a slick surface lets the mat shift during use.
Set rules for the zone before anyone trains. One athlete on the mat at a time prevents collisions. A spotter stands at the landing end for new skills. Keep water bottles and loose gear outside the buffer area. These habits cost nothing and prevent most avoidable accidents.
Setup Best Practices
Place the mat on a flat, level surface and press out any folds before you inflate. A twisted mat inflates unevenly and feels unstable underfoot. Inflate slowly, and check the firmness by hand as the mat fills. A dropstitch inflatable mat holds its shape well, and even pressure across the surface tells you the setup is correct.
Follow this routine each session:
- Clear the floor and check for sharp objects.
- Unroll the mat and smooth the edges.
- Inflate to your usual firmness and close the valve firmly.
- Test the surface with a few easy bounces before training.
After training, release the air, fold the mat loosely, and store it away from heat and sunlight. Recheck the firmness at the start of every session, because air pressure changes with temperature. A quick inspection of seams and the valve catches small problems early.
Start with your discipline. That choice sets the tone for everything else. Next, lock in length, width, and thickness to match your skills and your floor space. Then confirm the construction and setup features, from dropstitch cores to pump options and compact storage.
A well-matched Inflatable Air Track Mat, like those from ONESUN, supports safer progress at every level. Compare each option against your own space and goals before you buy. Measure twice, inflate once, and train with confidence.
FAQ
Which thickness suits a beginner?
Start with a 10 cm (4 inch) mat for home practice and younger children. It gives a softer landing and builds confidence. Move up to 15 cm as skills advance. Reserve the 20 cm (8 inch) option for commercial gyms and heavy, repeated landings.
How firm should you inflate the mat?
Inflate fully for a firmer, bouncier surface. Release some air for a softer landing zone. A pump with a pressure gauge helps you repeat the same setting. Check firmness before each session, because air pressure shifts with temperature and use.
Can you use a dropstitch inflatable mat outdoors?
Yes, on a flat, clean, dry surface. Keep it away from sharp objects, direct sun, and extreme heat. Bring it inside after use and store it in its carry bag. Outdoor use works well for backyard practice and warm-weather club sessions.
How long does a quality mat last?
Lifespan depends on build and care. A dropstitch core with reinforced seams resists wear at stress points. Home users typically get years of service. Daily club use demands a robust build. Inspect seams and the valve regularly and store the mat properly.
Do you need a separate mat for each activity?
No. One inflatable exercise mat can serve tumbling, cheer stunts, and conditioning. Adjust the air pressure to change the bounce for different athletes. A gymnastics air mat tumble track inflatable in a longer length covers cheer passes and pro training alike.


 IPv6 RÉSEAU PRIS EN CHARGE